
I still remember the first time my mom handed me her old pressure cooker and said, “Just don’t blow up the kitchen.” That was years before Instant Pots existed, but the fear was the same one I hear from so many of you now — that little jolt of anxiety when you unbox a brand-new Instant Pot and have absolutely no idea where to start. My neighbor Denise felt it too. She texted me last winter, half-panicked, asking what on earth “natural release” meant before she’d even plugged the thing in. So I walked her through the exact recipe I’m about to share with you: an instant pot chicken and rice recipe for beginners that has never once failed me, and honestly, it won’t fail you either.
Why This Instant Pot Chicken and Rice Recipe for Beginners Works So Well
Here’s the thing I love most about this dish — it forgives you. I’ve made it exhausted, distracted, and half-asleep on a Tuesday night, and it still comes out tender, flavorful, and comforting every single time. What makes this instant pot chicken and rice recipe for beginners so approachable is that it doesn’t ask much of you. You’re not babysitting a stove or stirring risotto for thirty minutes straight.
- One pot, minimal dishes, zero stress
- No advanced Instant Pot skills required
- Total time: about 30 minutes (10 minutes prep, 10 minutes cook, 10 minutes release)
- Serves 4 to 6 people comfortably
I think that’s really the heart of why beginners fall in love with this recipe. It’s not just easy — it’s genuinely satisfying, the kind of dinner that makes you feel like you know what you’re doing in the kitchen, even if you don’t yet.
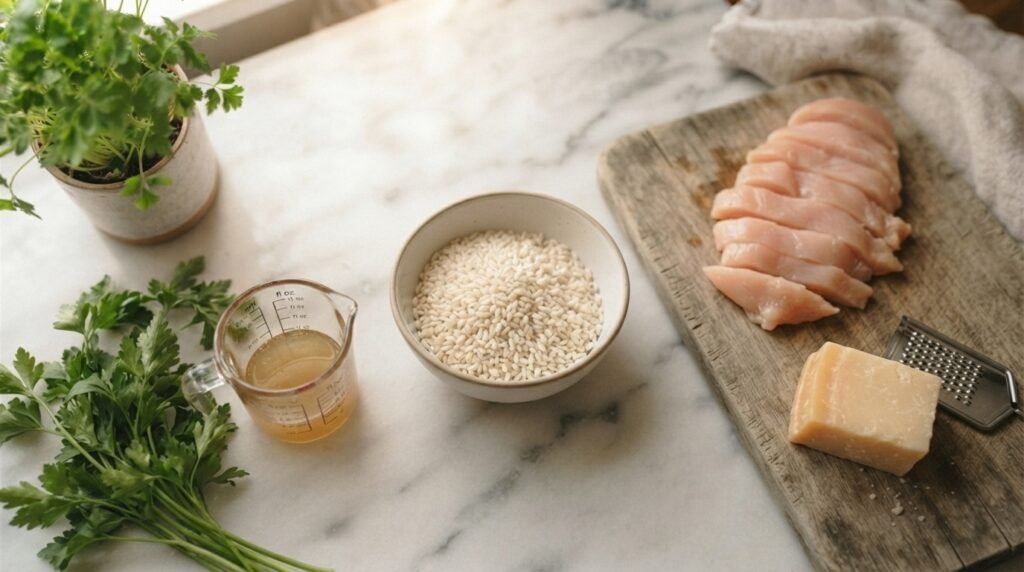
Ingredients You Need for Instant Pot Chicken and Rice
When Denise asked me what to buy, I told her the same thing I’ll tell you: keep it simple. This recipe doesn’t need anything exotic, and that’s exactly the point.
Choosing the Right Chicken (Breasts vs Thighs vs Tenders) I personally lean toward boneless, skinless chicken thighs because they stay juicy even if you slightly overcook them — forgiving, just like the recipe itself. Chicken breasts work fine too, but cut them into bite-sized pieces so they don’t dry out. Tenders are a great shortcut since they need almost no prep.
Best Rice Types for the Instant Pot (White, Jasmine, Basmati, Brown) This part matters more than people expect. Jasmine and basmati rice cook beautifully and hold their shape. Regular long-grain white rice works well too. Brown rice is delicious but needs a longer cook time and more liquid, so don’t swap it in without adjusting your settings — trust me, I learned that one the hard way.
Broth, Aromatics, and Optional Add-Ins
- Low-sodium chicken broth (homemade or store-bought)
- Garlic and onion for that cozy, savory base
- Grated carrots for natural sweetness
- Parmesan cheese, if you want that creamy, almost-risotto finish
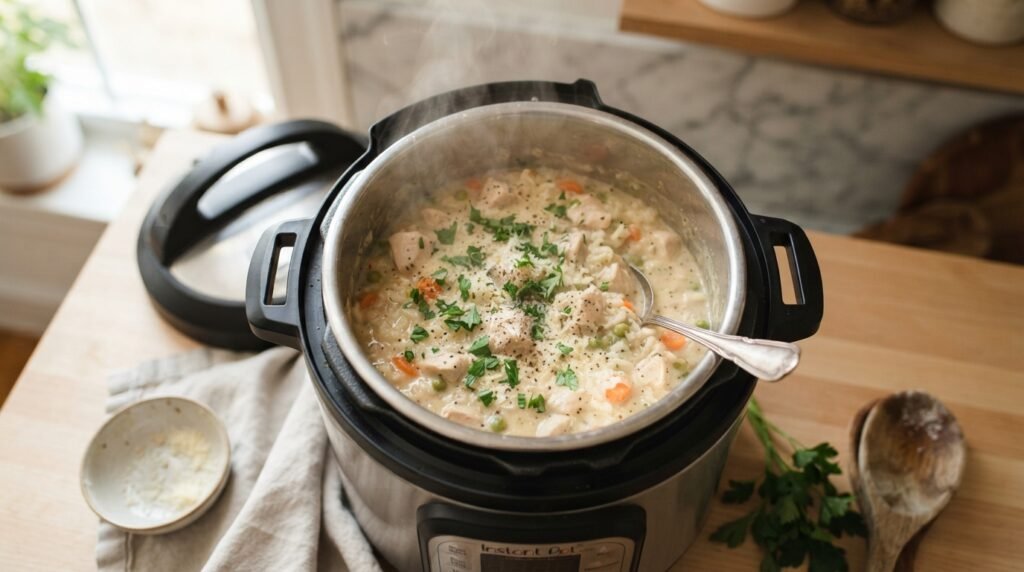
Kitchen Equipment: What Size Instant Pot to Use A 6-quart Instant Pot is the sweet spot for this recipe. If you’ve got an 8-quart, no worries — just add a bit more broth so nothing scorches on the bottom.
Step-by-Step Instructions for Instant Pot Chicken and Rice
I always tell beginners the same thing: read through all the steps once before you touch a single ingredient. This recipe moves fast once it starts, and having everything prepped ahead of time makes the whole process feel almost effortless.
Step 1: Prep Your Ingredients Before You Start Chop your onion, mince your garlic, and cut your chicken into even pieces so everything cooks at the same rate. Rinse your rice if you’re using jasmine or basmati — it helps prevent that gummy texture nobody wants.
Step 2: Sauté the Chicken and Aromatics Turn your Instant Pot to Sauté mode, add a little oil, and brown the chicken for just a couple of minutes per side. Toss in the onion and garlic and let them soften. This step builds so much flavor, and it only takes about five minutes.
Step 3: Layer the Rice, Chicken, and Broth Correctly This is the part beginners tend to overthink, but it’s simple: spread the rice evenly on the bottom, place the chicken on top, and pour the broth over everything last. Do not stir. I know it feels wrong, but layering (instead of stirring) is exactly what prevents sticking.
Step 4: Set Pressure Cook Time and Seal the Valve Close the lid, make sure the valve is set to “Sealing,” and set your Instant Pot to High Pressure for 8 to 10 minutes depending on your rice type.
Step 5: Natural vs Quick Pressure Release — Which to Use For rice dishes, I always recommend a natural release for at least 10 minutes before switching to quick release. This gentle transition keeps the rice fluffy instead of mushy, and honestly, it’s the step that separates a good result from a great one.
Beginner Tips to Avoid the Instant Pot “Burn” Error
If there’s one thing that scares new Instant Pot owners more than anything, it’s that dreaded “Burn” notice flashing on the screen. I’ve been there. My aunt actually gave up on her Instant Pot for six whole months after hitting it once. Let’s make sure that doesn’t happen to you.
Why the Burn Notice Happens with Rice Dishes It usually happens when rice or thickened ingredients sit directly against the hot bottom of the pot without enough liquid buffering them.
How to Layer Ingredients to Prevent Sticking
- Always add liquid last, poured evenly over the top
- Never stir after layering
- Keep rice below the liquid line, not directly touching the heating element
Deglazing the Pot: A Simple Trick That Saves Your Dinner After sautéing, pour in a splash of broth and scrape up any browned bits stuck to the bottom with a wooden spoon. Those little bits are flavorful, but if left behind, they’re often the real cause of the burn warning.
Common First-Timer Mistakes and How to Fix Them Using instant or minute rice, skipping the deglazing step, or stirring too early are the three mistakes I see most often. The fix is almost always the same: slow down, layer properly, and trust the process.
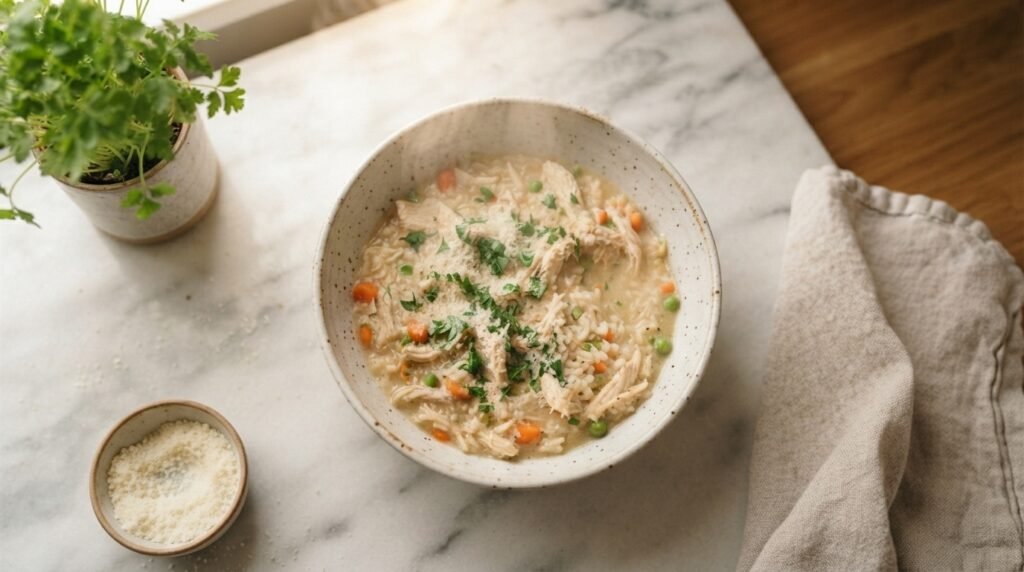
Recipe Variations and Substitutions
Once you’ve made this recipe a couple of times, you’ll start craving little twists — I certainly did.
Instant Pot Chicken and Brown Rice: Adjusting Cook Time Swap in brown rice, add an extra quarter cup of broth, and increase your pressure cook time to about 22 minutes with a 10-minute natural release.
Dairy-Free and Low-Sodium Options Skip the Parmesan and use a low-sodium broth if you’re watching sodium intake. The dish still turns out flavorful thanks to the garlic and onion base.
Adding Vegetables
- Frozen peas stirred in after cooking
- Broccoli florets added during the last few minutes
- Diced bell peppers sautéed alongside the onion
Spice and Flavor Variations Try a Cajun blend for a smoky kick, Italian herbs for something cozy, or go full Arroz con Pollo style with cumin, paprika, and a splash of lime.
Storage, Reheating, and Meal Prep Tips
This is one of those recipes that somehow tastes even better the next day, which honestly feels like a small miracle on a busy week.
How to Store Leftover Chicken and Rice Store in an airtight container in the fridge for up to four days.
Best Way to Reheat Without Drying Out the Chicken Add a splash of broth or water before microwaving, or reheat gently on the stovetop with the lid on to lock in moisture.
Can You Freeze Instant Pot Chicken and Rice? Yes — freeze in individual portions for up to three months. Thaw overnight in the fridge before reheating for the best texture.
Meal Prep Ideas for the Week Double the recipe on Sunday, portion it into containers, and you’ve got lunches ready for the whole week without extra effort.
Troubleshooting Common Instant Pot Chicken and Rice Problems
Even with a foolproof recipe, things occasionally go sideways, and that’s completely normal.
Rice Too Mushy or Undercooked: What Went Wrong Mushy rice usually means too much liquid or too long a natural release. Undercooked rice often means not enough liquid or a rushed quick release.
Chicken Overcooked or Dry: How to Fix It Next Time This usually happens with chicken breast cut too small. Next time, cut pieces slightly larger, or switch to thighs for more forgiveness.
Adjusting Liquid Ratios for Different Instant Pot Sizes A 6-quart pot generally needs less liquid than an 8-quart. If you’re using a larger pot, add about a quarter to half cup more broth to keep everything from scorching.
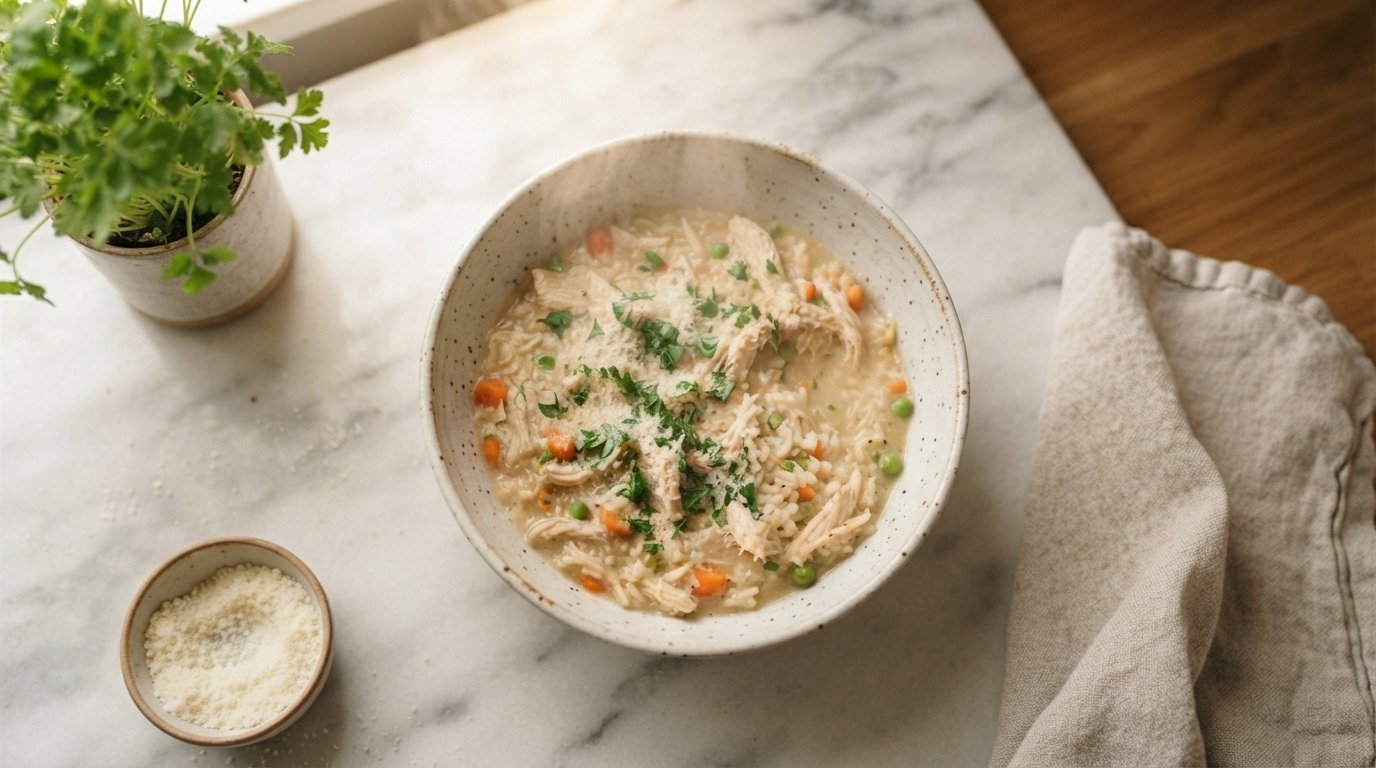
Instant Pot Chicken and Rice Recipe for Beginners
Ingredients
Method
- Prep your ingredients — Chop the onion, mince the garlic, cut the chicken into even pieces, and rinse the rice.
- Sauté the chicken and aromatics — Set the Instant Pot to Sauté mode, add olive oil, and brown the chicken for 1-2 minutes per side. Add the onion and garlic and cook until softened, about 3 minutes.
- Deglaze the pot — Pour in a splash of the chicken broth and scrape up any browned bits from the bottom with a wooden spoon.
- Layer the ingredients — Spread the rice evenly in the bottom of the pot, place the chicken on top, then pour the remaining broth over everything. Do not stir.
- Pressure cook — Close the lid, set the valve to Sealing, and cook on High Pressure for 8-10 minutes.
- Release the pressure — Allow a natural release for 10 minutes, then carefully switch the valve to Venting for a quick release of any remaining pressure.
- Finish and serve — Open the lid, stir in the parmesan cheese and grated carrots if using, and garnish with fresh parsley before serving.
Notes
- For brown rice, add ¼ cup extra broth and increase cook time to 22 minutes with a 10-minute natural release.
- Use a 6-quart Instant Pot for best results; if using an 8-quart, add ¼-½ cup extra broth.
- Store leftovers in an airtight container in the fridge for up to 4 days, or freeze for up to 3 months.
Frequently Asked Questions About Instant Pot Chicken and Rice
Can I Use Frozen Chicken in This Recipe?
It’s best to use thawed chicken for even cooking, though small frozen pieces can work with a slightly longer cook time.
What Rice Should Beginners Use in the Instant Pot?
Long-grain white, jasmine, or basmati rice are the easiest and most forgiving options for first-timers.
How Long Does Instant Pot Chicken and Rice Take to Cook?
About 30 minutes total, including prep, pressure cooking, and natural release.
Can I Double This Recipe in a Larger Instant Pot?
Yes, as long as you’re using at least an 8-quart pot and adjusting the liquid slightly upward.
Is Instant Pot Chicken and Rice Healthy?
It can absolutely fit into a balanced diet, especially with lean chicken thighs, low-sodium broth, and added vegetables.
Can I Make This Recipe in a Slow Cooker Instead?
Yes — brown the chicken and sauté the aromatics first, then cook on low for 4 to 6 hours, adding rice during the last hour so it doesn’t turn mushy.
.
Final Thoughts and Serving Suggestions
Best Side Dishes to Pair With Chicken and Rice A simple green salad, roasted broccoli, or warm dinner rolls round out the meal beautifully without much extra effort.
Why This Recipe Is Perfect for Weeknight Dinners At the end of the day, this dish is really about giving yourself a little grace on busy nights. It’s the kind of recipe my mom would have loved having in her back pocket — simple, comforting, and just about impossible to mess up once you know the tricks. Give it a try this week, and I promise, it’ll earn a permanent spot in your dinner rotation.